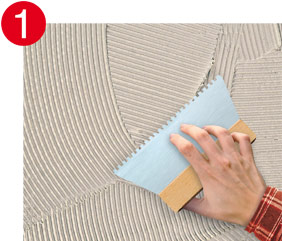
Adhesive application
Evenly apply Styrofoam Adhesive onto absorbent surfaces in the width of one board using a notched trowel (B2 tending). Evenly apply Contact Adhesive K12 onto non-absorbent surfaces in the width of one board using a suitable roller (always follow manufacturer‘s instructions).
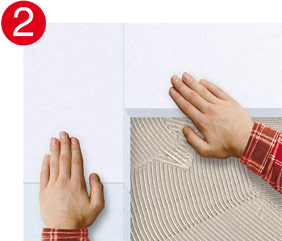
Laying of the board
Place the board with the grey back into the wet adhesive and roll it out thoroughly. Roll out any bubbles to the sides.
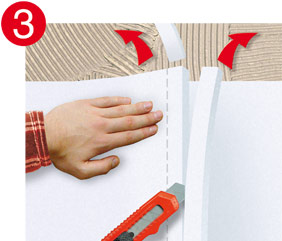
Joint sealing
Always lay the following insulation boards neatly to the joint or joint lapping (remove the remaining strips of the double cut).
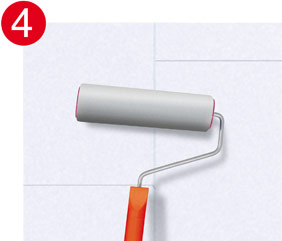
Thoroughly rolling out
Evenly roll out the cutting edges with the rubber roller.
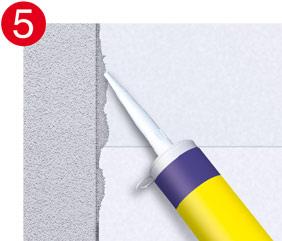
Filling
We recommend Lightfiller L10 for subsequent fillings and repair works e. g. of corners, ceiling connection joints, seams and damaged spots.
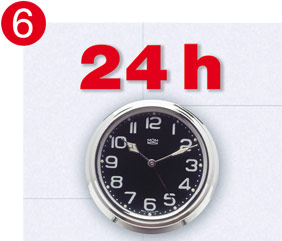
Drying time
Allow adhesive to dry for at least 24 hours. Check the drying of the adhesive and the firm adhesion of the insulating boards in several places prior to subsequent works.